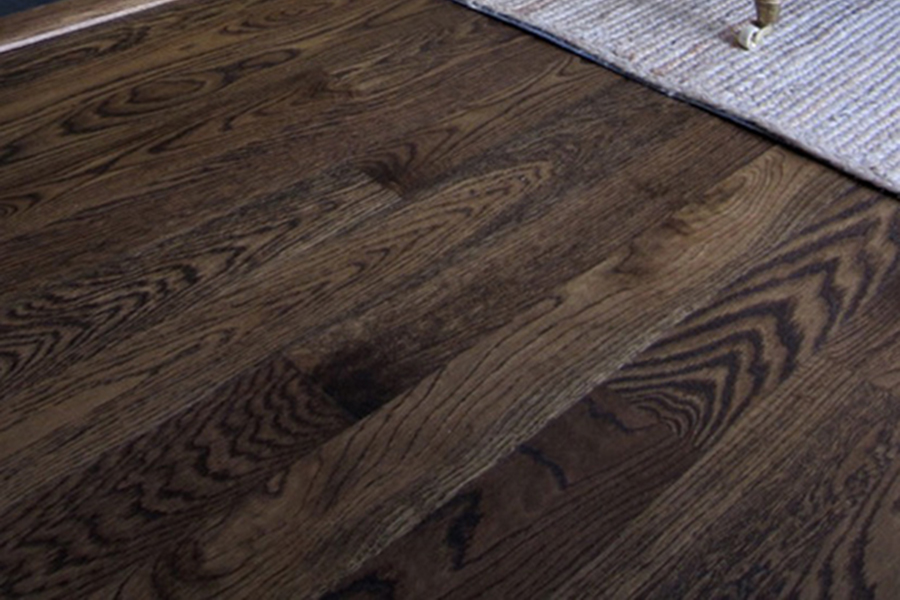
Repairing Wood Flooring : Gaps in the Planks
Many old floors squeak and/or sag. Changes in humidity cause various floors to shrink, or swell at different rates. Some people believe that squeaking or sagging are proof of the home's age and charm, it typically signals that something structurally significant is amiss. Potential causes may be that the dimension of lumber was undersized, the joist where spaced to far apart, the wood was not sufficiently seasoned, the house settled unevenly, the flooring was laid with insufficient nails, or the house is just suffering from old age. In some instances major reconstruction may be necessary. In other cases, squeaks, and sags may be relatively easy to eliminate. Squeaks signify that there is slack in the flooring structure. As a result, there is an audible sound, whenever adjacent members (Flooring, sub flooring, joist, beam) rub against one another. This occurs each time the floor is loaded, and then when the load is removed. The squeak may result from the loose board rubbing against a nail or another floorboard from the finished flooring that has warped or pulled loose from the joists.
Removing Old Floor Coverings
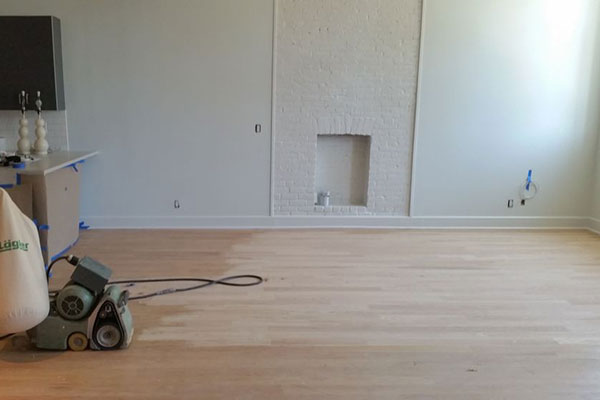
The first thing we do is remove all furniture from the room. The refinishing may take from one day up to 2 weeks, so it is best to store the furniture out of the way.
Removing old floor coverings and refinishing floors create a lot of dust. However, as technology advances, dust contaminate systems are standard with flooring contractors. Always take precautions to protect your furnishings as well as the rest of the house. Dirt and sawdust particle particles are extremely small and have an amazing ability to travel.
If you cannot remove the curtains, slip them onto coat hangers, hang from the curtain rods, and enclose them in plastic bags. Remove the registers. And shut doors to adjoining rooms. Open all windows, and tape plastic over to roll up and remove the carpet in two (or more) section.
Next, remove the felt, sponge, rubber, or foam padding. If it is stapled to the floor, remove all staples (Any staples left protruding from the floor will rip the sandpaper off the floor sander). Remove the staples with pliers or slip the flat side of a slotted screwdriver under the staple head and gently lift the staple free.
The tackles strip will be nailed to the floor. Carefully work a prybar under one end of the strip where it has been nailed into the floor. Once the nail loosens, work your way along the strip, gradually prying it up until it can be removed. Detach the metal threshold strip used to secure the carpeting in doorways in the same manner, and make sure to vacuum the floor thoroughly.
Linoleum or tile
If you bend old linoleum over on itself, it will typically snap, making it easy to remove in pieces. Scrape any old adhesive off the floor with a putty knife. The smaller pieces of stubborn adhesive may be sanded off when the floor, in the sanding process.
There is a possibility that Linoleum installed before 1985, and contains a white backing may contain asbestos. Dampen the remaining adhesive with water and scrape the surface. Put the Linoleum and the adhesive scrapings in plastic bags and seal away. Always wear a face mask and protective eye wear when scraping or sanding.
Most flooring adhesives are flammable . Using a propane torch or heat gun to loosen Linoleum or its adhesive is a dangerous procedure. Chemical adhesive solvents are available at many places but are not recommended. If you choose to try them , test in an inconspicuous area first, and make sure to vacuum the floor thoroughly.
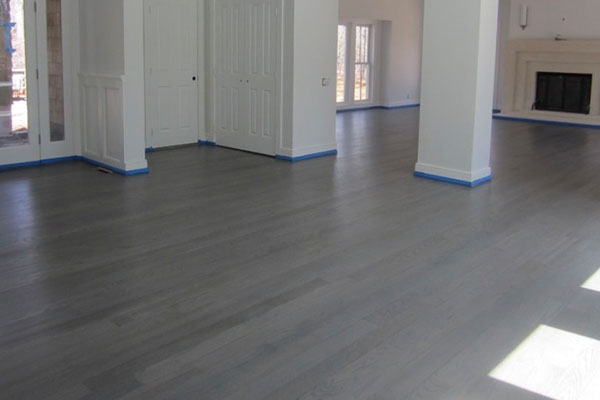
Evaluating the Floor
With the wood exposed, assess the condition of the floor and the amount of work involved. Some floors may require more work than you are willing to undertake. For badly damage floors, you may want to seek advice of a professional.
Large cracks between boards can be filled, however, when the floor is refinished, the filler may still show. In addition, large patches of filler may come loose with time. Also, deep multiple grooves, deep burns, or large stains may be impossible to sand away.
If there is extensive patching, evidence of relocated walls, evidence of rot, or if the replacement boards where added (to fill in the holes left when woodstove stacks where the effort), then it is important to know that you will have a floor worth showcasing for your time and money.
It may be more practical to paint your floors if they are in poor condition or badly discolored. Porch and deck enamels come in all colors and stains. Apply two or three coats to a floor free of dirt, grease and wax.
Some tongue and grove floors may have been sanded before, in which case there may be not enough wood left above the groves. If there is less than 1/8 inch between the top surface of the floor and the grove, extra sanding will weaken the wood that it will splinter along the edges.
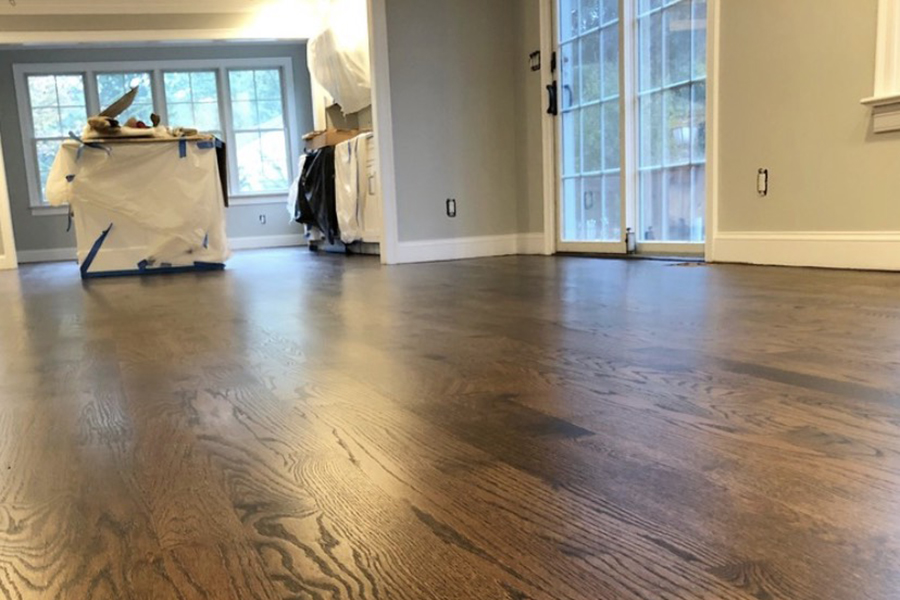
Refinishing floors is a dirty, noisy, unpleasant, and backbreaking task. You may want to get an estimate from a professional. He/She will provide a quote for you and calculate a figure based on the number of square feet to be refinished.
Preparing the surface
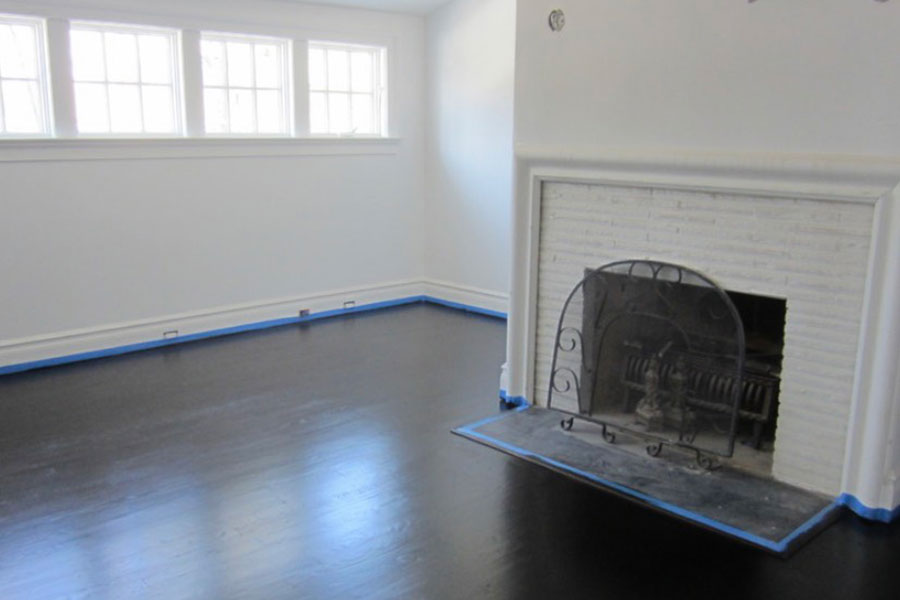
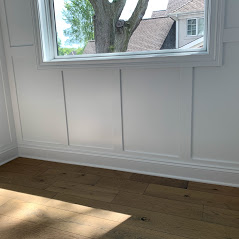
To prepare the floor for refinishing, remove the shoe molding around the perimeter of the room. Run the blade of a matt knife between the shoe molding and the baseboard. This will separate the paint and make the shoe molding easier to remove. If you intend to reuse the molding, pry it off carefully with two prybars, or a pry bar and a slotted screwdriver. Slowly loosen the molding by working along the edge and simply applying pressure at each nail location. Once the molding is removed, discard any exposed nails.
On the unpainted surface, number each piece of molding so that if can be re-nailed in the same location. With a pair of vice grips, remove the finish nail still attached to the shoe molding. Grasp the nail shank where the nail entered the floor or baseboard with the wise grips and slowly move the nail head through the wood and prevent the molding from splintering .( Splintering invariably occurs when the nails are hammered out rather than pulled through the wood.)The nail holes can later be filled with wood putty.
Floor construction
To understand why certain problems occur in floors, it is necessary to get a deeper understanding for floor construction. Residential floor construction consists of four elements.
The floor framing is made up of joists. THESE ARE USUALLY 2X6S, 2X8S, OR 2X10S and are laid edgewise at 16 inch intervals. They are supported by the house foundation at one end and at the other end by the crying beam located midway between foundation walls.
To keep the joists evenly spaced and to increase the rigidity of the frame, the bridging of the 1x2s is nailed in the form of an x between adjacent joists. The bridging also prevents the joists from twisting over time. On top of the joists is a sub flooring structure. Today, most sub floors are usually 5/8 inch or ¾ inch plywood laid so that the joists are staggered. In older homes, 1x6 or 1x8 tongue and groove boards should be laid at a 45 degree angle to the joists.
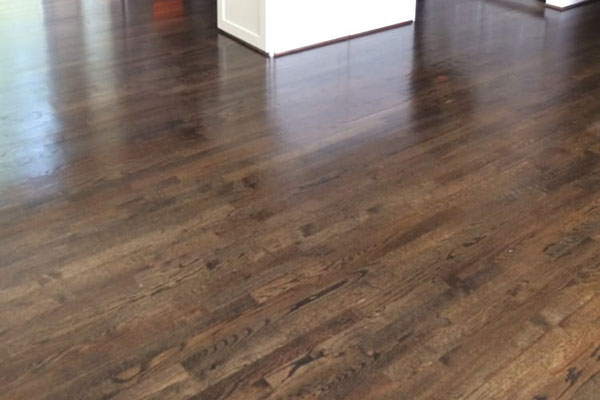
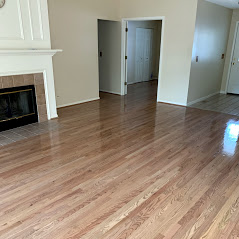
The finished floor is laid on top of the sub flooring over building paper. Hardwood floors, usually made of oak or maple, are laid perpendicular to the joists.
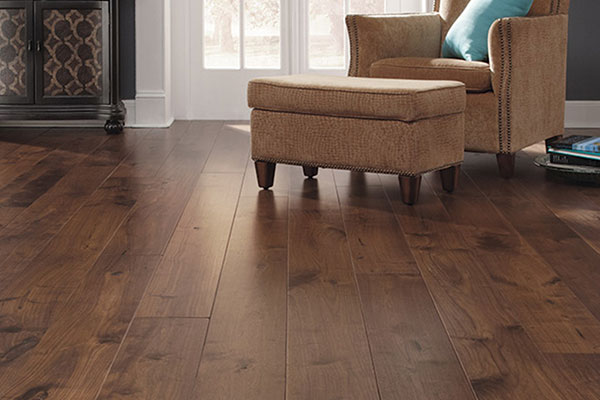
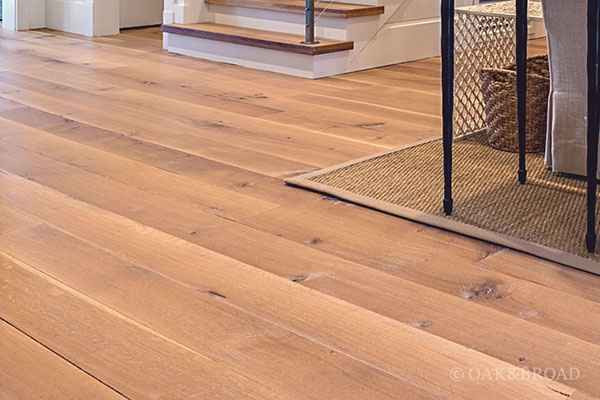
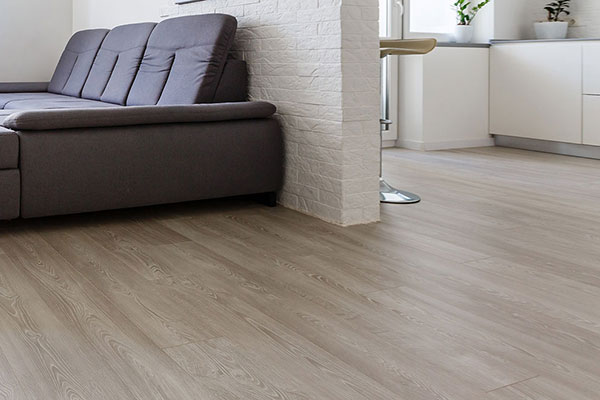
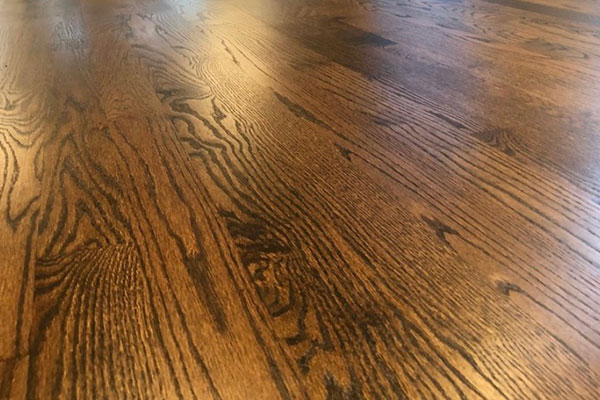
Types of wood flooring
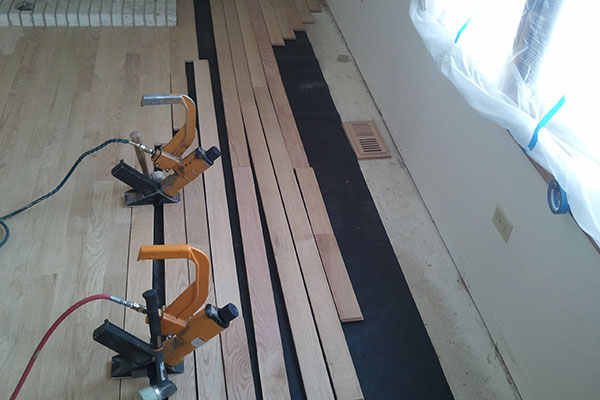
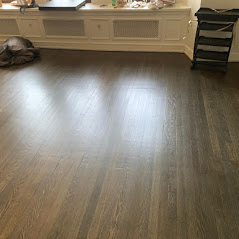
Strip flooring, by far is the most common. The strip flooring comes in random lengths and are available in widths of ½ inches to 2/14 inches and thicknesses 3/8 inch, ½ inch or 25/32 inch. The lumber has been milled so that there is a tongue along one edge and groove along the other. The boards are laid in a random pattern of end joints and the strips interlock as they are laid tongue to groove. The interlocking prevents the floor from moving or squeaking. The strips, 2 feet to 16 feet to 16 feet in length, are nailed every 10 to 12 inches through the tongue at a 50 degree angle. The nail heads are countersunk and in the finished floor are invisible because they are covered by the grove of the next board.
Plank flooring also consists of a tongue and groove style. The lumber comes in random widths of 3 to 9 inches. Originally the planks were pegged into the sub floor, and today the pieces are boarded. The screws are countersunk and the holes are plugged to the wooden pegs. Block wood flooring, which looks like parquet is made up of short pieces of hardwood that have been glued together in a rectangle or square. It is solid in tongue and grooved square shapes of 6x6 inches, 9x9 inches or 11 1/4 inches. Typically the strips are glued with the grains at right angles to the surrounding ones.
Softwood Flooring ( usually southern pine, Douglas fi, redwood, or western hemlock ) is less costly to install and less resistant to wear and tear than hardwood flooring. Softwoods are easy marred and will show scratches whenever furniture is carelessly moved. They are best used in bedroom or closets where the traffic is light. Softwood floors can be sanded, but may become too thin to re-sand.